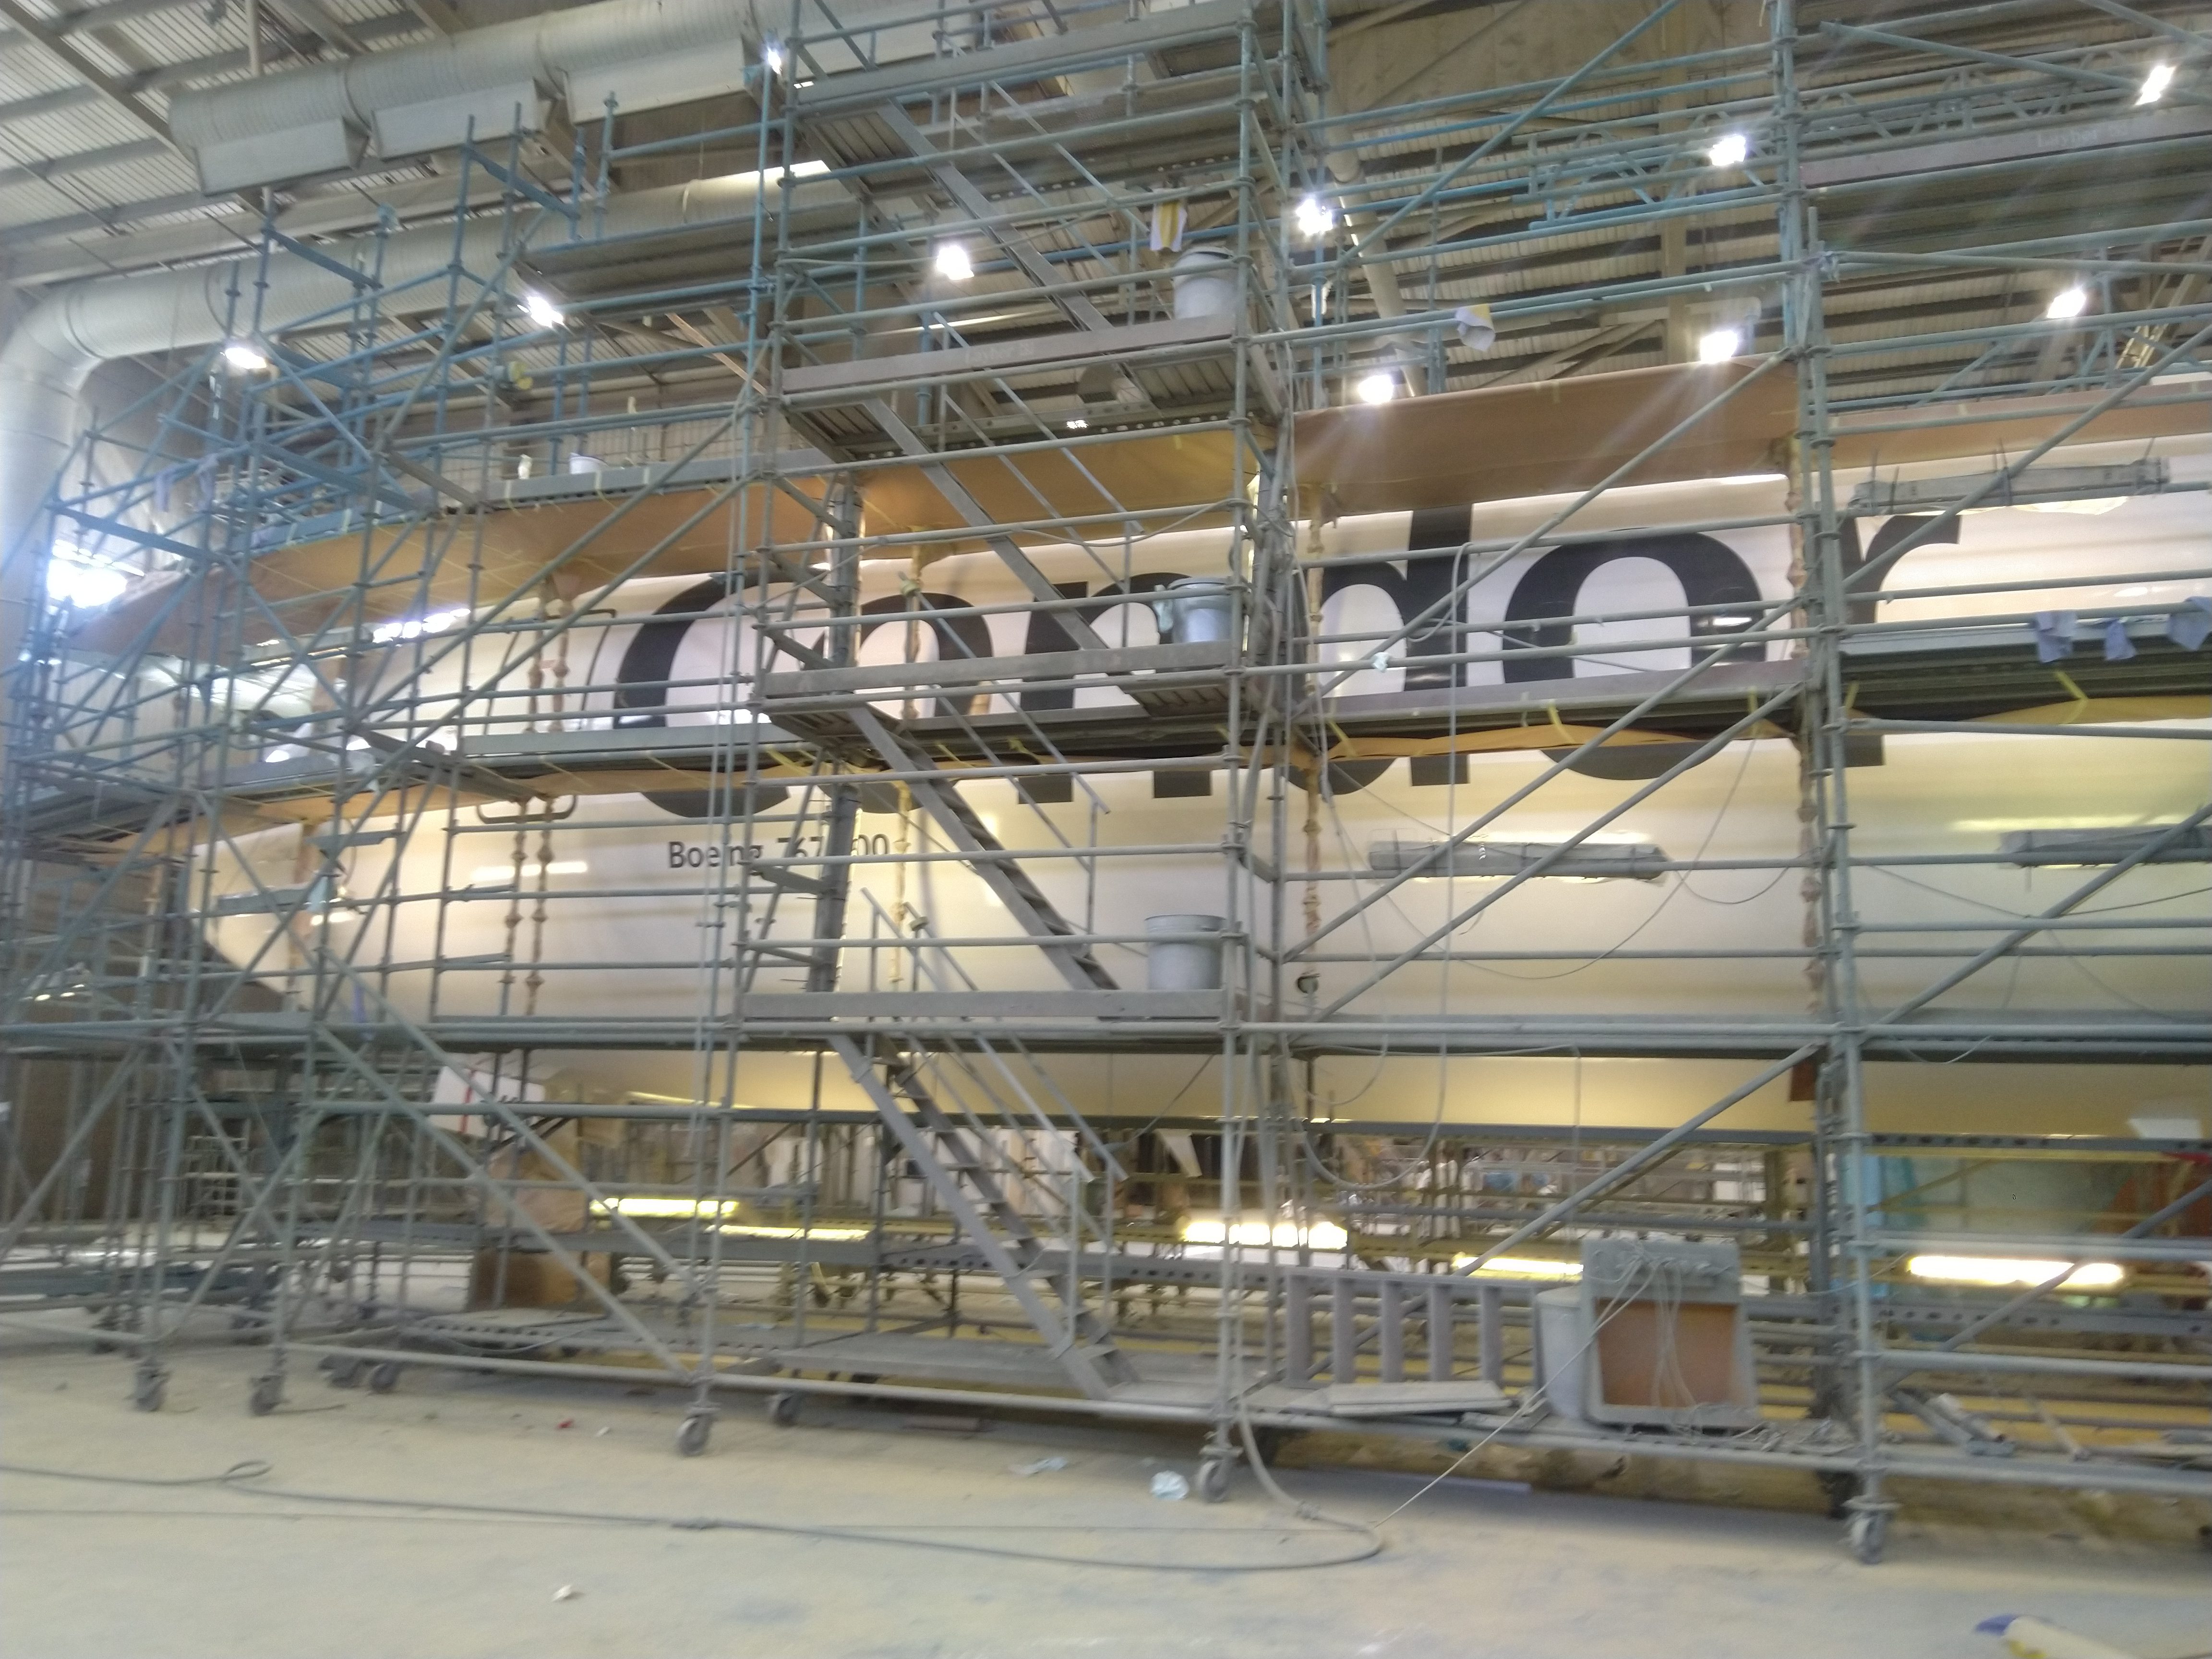
The aircraft paint input is a complex event often carried out on a tight timescale and with budgetary considerations. The induction into paint is an important time and you should be aware at this time of the contacted options on the paint input.
Often the contract might state costings based on paint thickness on different areas –it is important to check the paint thickness measures in microns and ensure that samples are taken in multiple places onsurfaces.
A good practice is also to take many photos of the condition of the aircraft at this stage and note any damage, window condition, and ensure you have good quality images to refer to.The aircraft has multiple probes, ports, openings and antenna for example where it can be harder to prepare the aircraft for paint. Here masking and protection is a part of the process carried out before sanding and stripping begins.
The aircraft will have protective coverings put on vital areas such as pitot/static & angle of attack (AOA) sensors; you should ensure this is the case and it is a good idea to take a photo of this once carried out.
The aircraft will be further protected then with covering/tapes as required –note that the windows will be marked and damaged by paint stripper if it comes into contact so ensure that the window protection is applied and you will inspect the windows in detail again at the end of the input for any new damage on outer surfaces.
Always check areas near edges after paint removal as incorrect usage of coarse sanding or abrasive materials will damage the aircraft skin. The aircraft manufacturer will specify a process to remove paint from the aircraft to reference.Typical areas masked include but are not limited to:
Windows
Static ports
AOAs
Lights
Pitot probes
Gaps around flight controls (where contamination can occur to actuators/cables etc)
Body/Door drains
Landing gear / Engines / APU
Learn more about aircraft paint input events and considerations on out course Aircraft Paint Awareness Course HERE and be sure to follow us on LinkedIn
